It’s officially back to school time and with that comes school lunches. This year, I have a First grader and a Pre-Kindergartener. I have been packing lunches for 5 years now and I feel like I finally gotten a bit of a groove… I know what they will eat, what they like and what they are going to give me a hassle about eating. I try to pack healthy, with nuts (when there is no allergies), fruit, veggies and hummus, string cheese, etc. But I do also pack organic fruit strips, veggie straws, corn chips and the occasional cookie packet. I mean, everyone deserves a treat sometimes and they work off the sugar.
We have had a really wonderful summer, but I, for one, am relieved to have a routine back in our lives… although I have loved the loosy-goosy, fly by the seat of our pants days of summer!
Here are just a few tips I have put together to make putting together lunches a little more bearable:
- Make lunches the night before. This is such a time saver for me in the morning since I hate getting up earlier than a possibly have to… You can even make some sandwiches and freeze them for the week.
- Keep packaged snacks handy such as string cheeses, squeeze applesauce/fruit pouches, veggie straws, baked chips, single packaged pretzels/goldfish/corn chips etc. for easy packing
- I know, I know buying them prepackaged comes with moral downside of extra waste and a bit of extra cost. If you don’t like that option, it’s okay! Just buy some reusable containers and package snacks up on Sunday for the week.
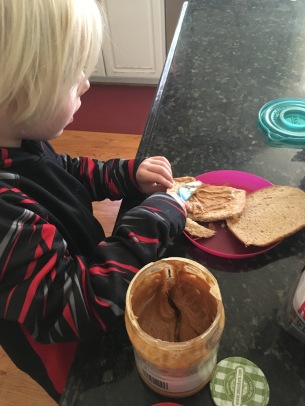
- Put the condiments inside the folded lunchmeat!
- My kids love sandwiches and wraps, which makes my life easy as I can pop them together in no time! But recently my daughter decided she liked mustard and mayo… but who likes a soggy sandwich? Especially since I make their lunches in the evening when I am picking up dinner! Then I had a brainstorm; FOLD THE MEAT! It seems simple, but it was a big deal to my 6 year old to get mustard on her ham wrap.
- Have the kids help in making lunches!
- I put the “extras” (i.e. granola bars, fruit cups, popcorn, mini boxes of raisins, cereal bars, packs of etc.) within their reach so they get to pick 2, one for after they eat their “good stuff” with lunch and one for snack. They get excited about helping and it’s one less thing I have to do!
- Use leftovers. If the kids loved the dinner and it will taste good cold (think pasta salad made with hummus dressing or homemade pizza) then pack it!
- Don’t over think it. Play up to the kids likes and dislikes, but if they like PB and J everyday, give them PB and J every.dang.day! If there is a peanut allergy use Wow Butter, it tastes the best out of all of the alternatives according to my PB and J loving kid.
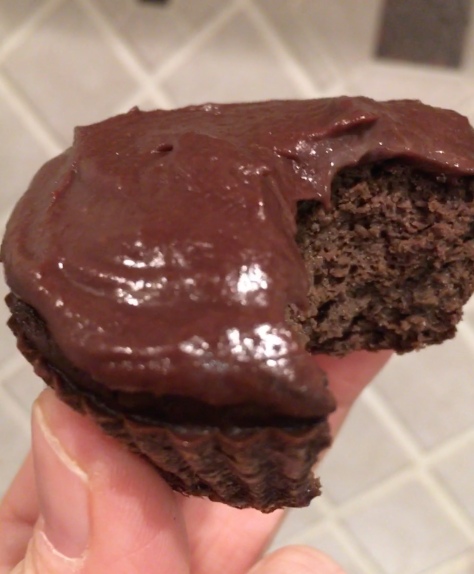
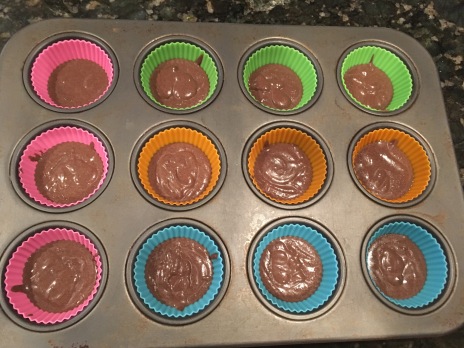
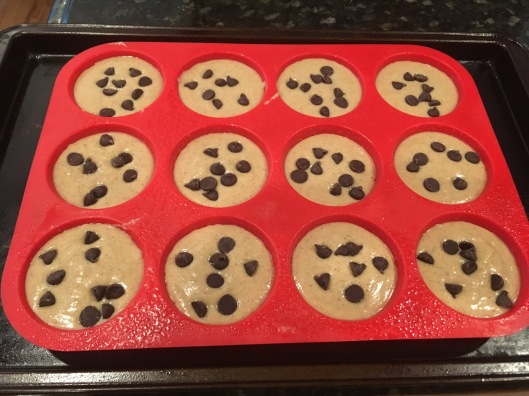
As a bonus, I am including the following recipe I tweaked from a recipe I found on Tastelovely.com. I used a silicone muffin pan and this batch made 14 muffins, but I filled the cups almost all the way up. You may be able to stretch it out by not filling them all the way and making more muffins…. because who doesn’t want more muffins?!? I added about 6-8 dark chocolate chips to each muffin, pushing them down a little into the batter. I may try this with a little protein powder for added nutrients.
Make sure the bananas are ripe, with brown spots on the peel. If they aren’t ripe, the sweetness won’t be there and the muffins won’t come out very good. Also, I use dark chocolate chips at least 65% dark.
These are great to add to lunchboxes, but since it’s made with almond flour be aware that it is an allergy concern.
Chocolate Chip Banana Muffins:

- 6 eggs
- 4 ripe bananas
- 2 cups almond flour
- 1 tsp stvia
- 2 1/2 TBSP melted coconut oil
- 2 tsp baking powder
- 1 1/2 tsp cinnamon
- 1/2 tsp nutmeg
- 4 TBSP dark chocolate chips
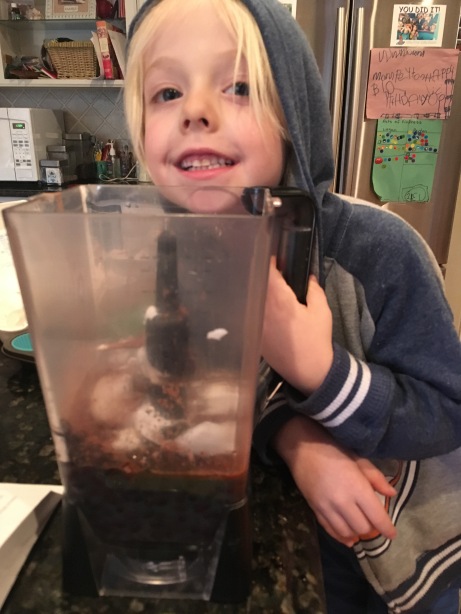
Put all ingredients except chocolate chips into high speed blender (I love my Ninja!) and blend well. Scrape down the edges once or twice to make sure there are no chunks of banana. Once smooth, pour about 3/4 of the way up the muffin cups. Push 6-8 chocolate chips into each muffin.
Bake at 350 degrees for 35-40 minutes or until a toothpick into the center muffin comes out clean.
7.1 grams of protein, 13.1 carbs and 11.3 grams of fat per muffin if you make 14 individual muffins!
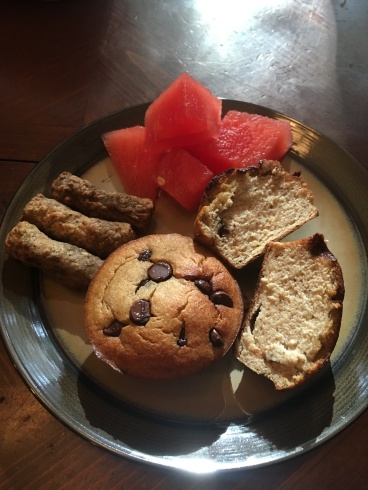
Getting back to eating more healthy is a must as well, so planning some tasty snacks like this for easy breakfasts/lunches for the kids and adults is key. Good luck with the start of the school year!